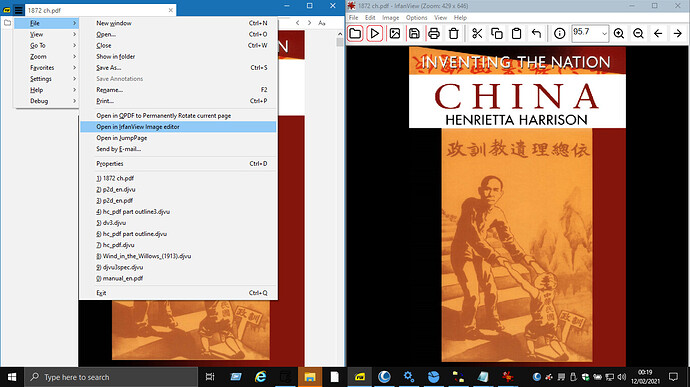
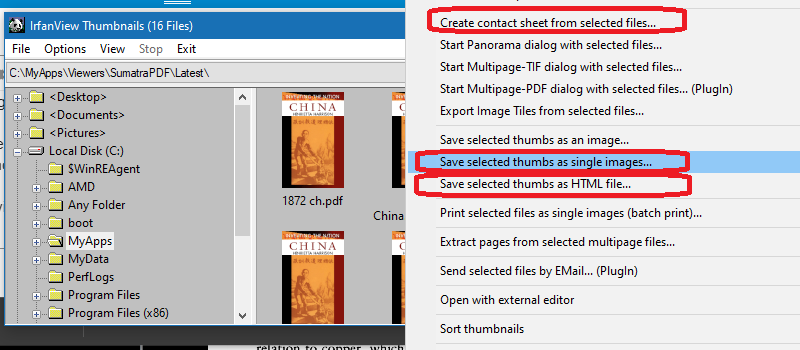
For anyone wanting to do similar from within SumatraPDF you need to include a negative shift by 1 in page number. The reason is as seen in the example given that page 3 in a pdf is always shown counted from base 1 but counts as image 2 from internal base 0 by imagemagick. So a cover page is entered as filename.pdf[0] thus we would call with “%1[0]”
convert \
-density 600 \ # make it high density so the resized image looks OK
example_051.pdf[2] \ # use [X] to specify the page number page 3 in this case.
-resize x150 \ # resize to a height of 150 keeping the width ratio the same
-flatten \ # flatten the image so that the transparent areas aren't blacked out
out.jpg \ # the name of the output image.
I have some issues with the above imagemagick command, First it seemed to take forever on a large file, then the output was NOT flagged as 600x600 which actually is useless for thumbnail production as the 150 is the key value.
It is easier to use the compatible single MuTools.exe from here (SumatraPDF uses the MuPDF library)
In this case the CommandLine to get a similar quality PNG thumbnail from inside SumatraPDF ExternalViewers becomes
mutool draw -o "%1-page%04d.png" -r 96 -h 150 "%1" %p
So from viewing the cover page in example,pdf, I then very quickly get a 150 high thumbnail alongside called example-page0001.png.

Note MuTool will generate higher quality PNG rather than lossy jpg, you can of course change the resolution to -r anything (NOT recommended) to get what appears to be a smaller size of screen compatible output, but the actual file size of 150 pixels high is as here the one used (Resolution value is ignored). Resolution is only used by some other apps so it depends on downstream intended usage.
For comparison the png file size is about 50% larger but that could be compressed without change in quality (I normally don’t recommend such compression) Here I have scaled both up 400% for screen view.
Jpg on left Png on right, not the best example for comparison but I consider the left is inferior.


